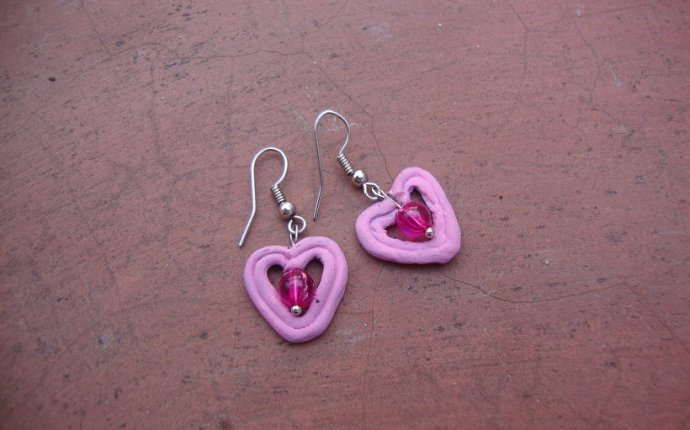
How to make long earrings?
 Summer is a playful season, when you want to jazz up a plain T-shirt and shorts with a cute piece of statement jewelry. One problem: statement jewelry and the heat don't always mix.
Don't sweat it — you can still look beautifully dynamic and stay cool.
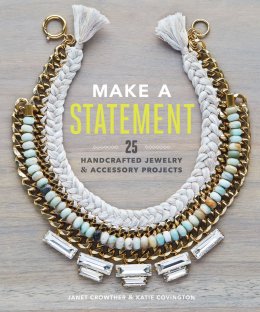
Easy, geometric earrings from Janet Crowther and Katie Covington's DIY jewelry book, Make A Statement, are not only great for summer, but also versatile enough to put your own spin on them that fits your own style.
We were not only inspired by their sleek, minimal style, but also found two bonus ways to give these earrings a new look to suit your summer wardrobe.
Make A Statement, which includes several jewelry making tutorials by Crowther and Covington, is available for purchase.
Style 1
Materials Needed:
20 mm gauge wire
Wire cutters
Jewelry pliers
Ruler
 Sandpaper or nail file
First, cut a 6-inch piece of wire. With round nose pliers, grip one end of one wire piece 1/16 inch from the end and fold the wire back on itself, creating a U shape — this is called a catch. The catch is the part of the earring that goes on the back of your ear lobe.
Now, grip the wire about 2 inches down from the U shape you made, bend to the right at about a 45-degree angle. This creates a point at the bottom of the earring. From there, grip the wire ½ inch away from your last point, and bend upwards at 90 degrees. Now, make just one more bend: grip the wire a ½ inch away from the last point, bend up at 45 degrees — symmetrical to the other side.
The last part of the earring is the post, which will pierce the ear and keep it in place. Grip the wire 2 inches from your last point, bend the wire toward the U at 90 degrees and tuck it under the catch. Trim the post end of the wire so that there is at least a ⅛ inch left beyond the U-shaped catch. Use a fingernail file to tape and smooth the end of the wire. Adjust the angle of the earring as needed, straighten out any kinks.
Repeat steps to make two. (Unless one earring is your style.)
Style 2
Extra Materials Needed:
Nail polish or enamel paint of any color
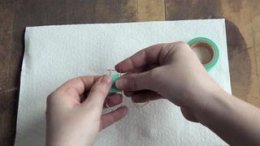
Masking tape
For this style, you redo all the previous steps to create your geometric earrings. Next, you'll add this simple modification for a breezy, paint-dipped look.
Cover one side of your earring with masking tape wherever you want the paint to break. Next, use your nail polish (or enamel paint if you're feeling fancy) and apply a generous coat all around the wire.
Hang your earrings to dry and remove the tape.
Style 3
Jewelry bead
This last style can be modified entirely based on the bead you choose — simple, glass beads make your earring a little more space-age while more intricate designs give them a more boho look. You're the designer, so you get to decide.
Complete the steps for your earrings up to the point where you are ready to make the post. Before you finish, slip your bead on. It may take a little re-bending to make it reach the center, depending on what kind of bead you choose.


